Your Fairphone 1 battery is definitively bloated, and you just realized that after only three years Fairphone inc. very deplorably has discontinued spare batteries supplying.
Well, here you can find the intructions to replace original FP1 battery with a Samsung EB-L1G6LLU battery.
EB-L1G6LLU is a 3,7 V, 2100 mAh lithium battery; voltage, capacity, mechanical size and contact pads’ position are pretty similar to original FP1 battery.
Note: if you are not skilled with electronics and soldering, you can bring this instruction to some electronic repair professional, he can use informations to fix your phone.
Fairphone battery size: Height: 61,2 mm, Length: 53,2 mm, Width: 5 mm
Samsung battery size: Height: 63 mm, Length: 50 mm, Width: 5 mm
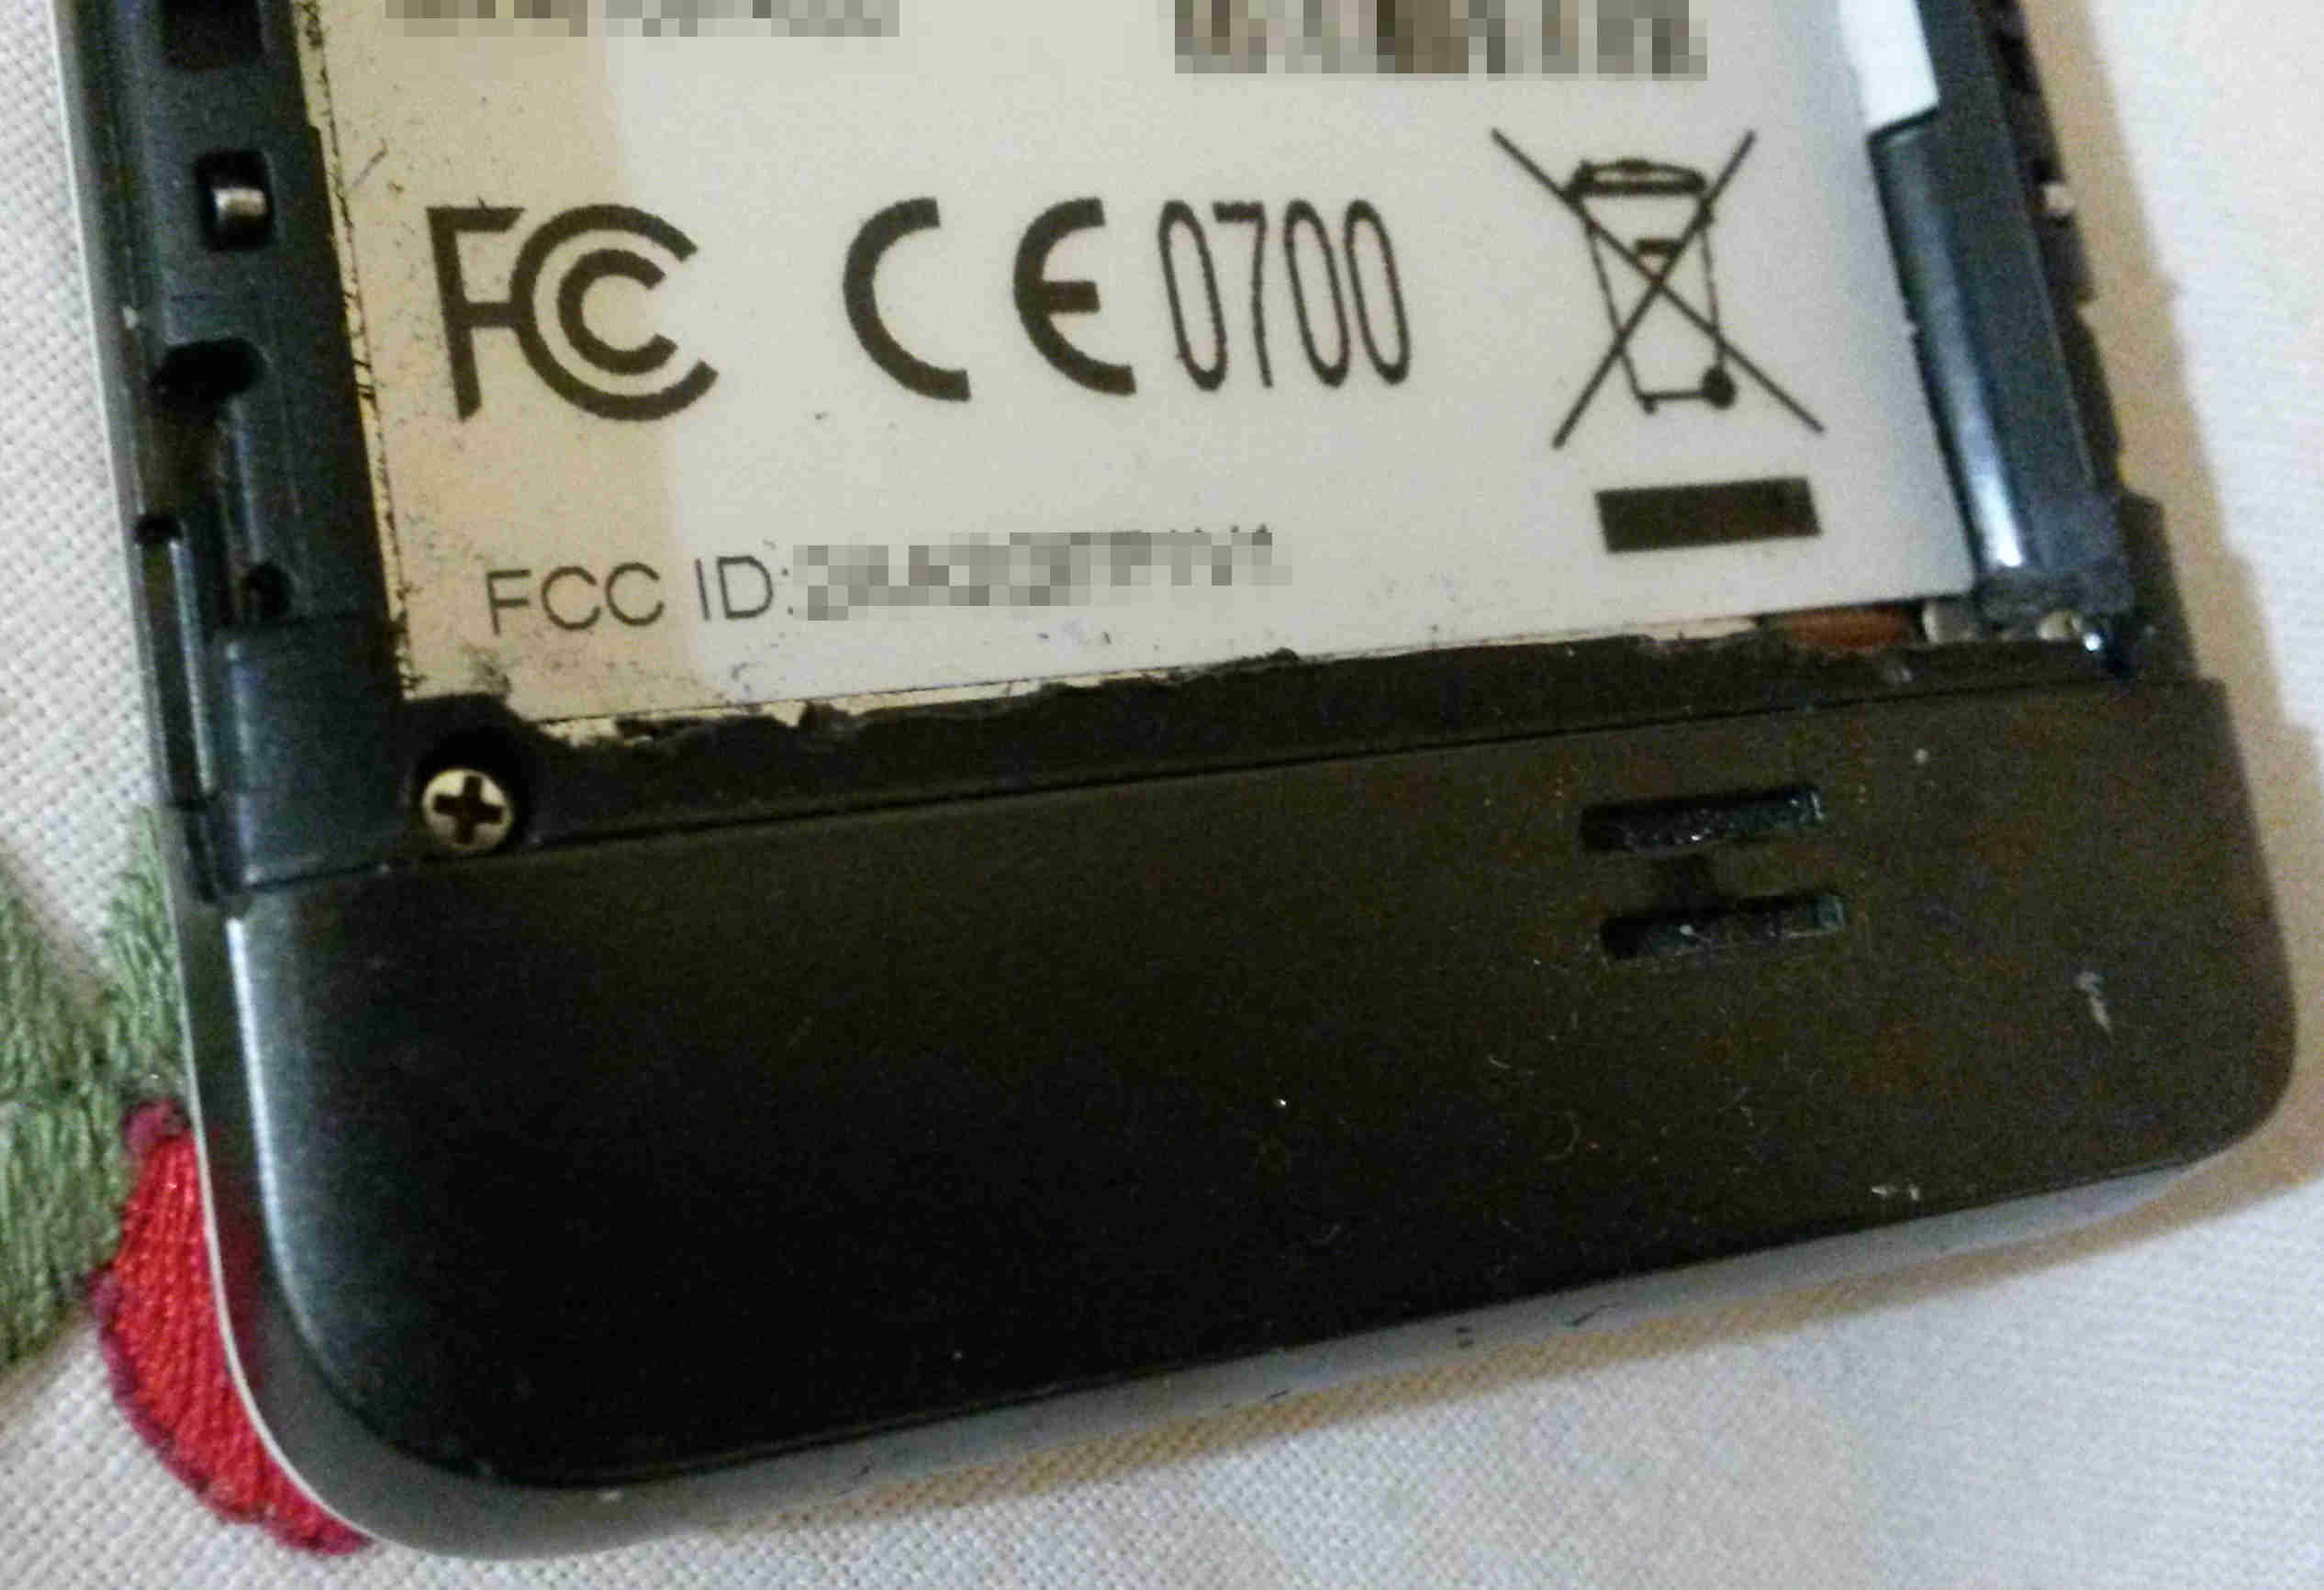
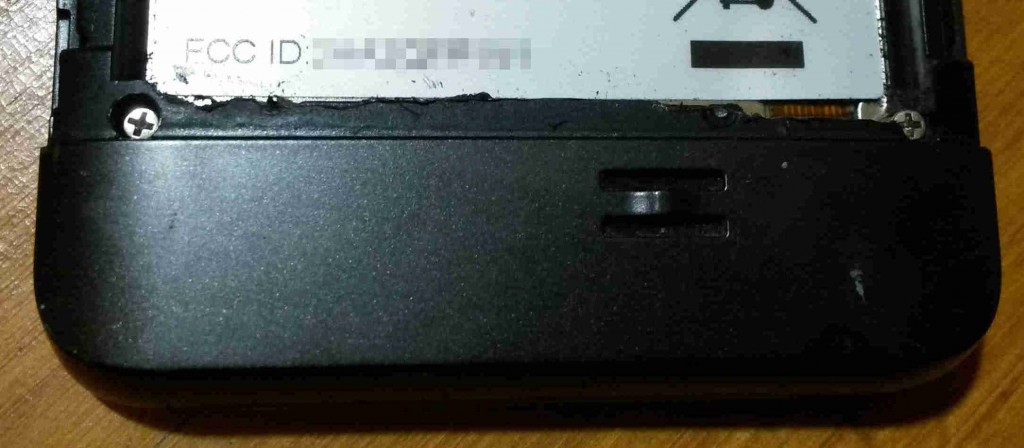
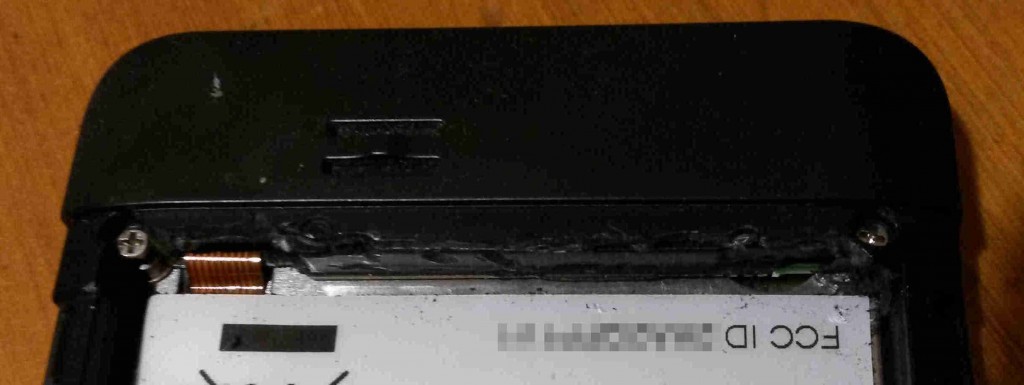
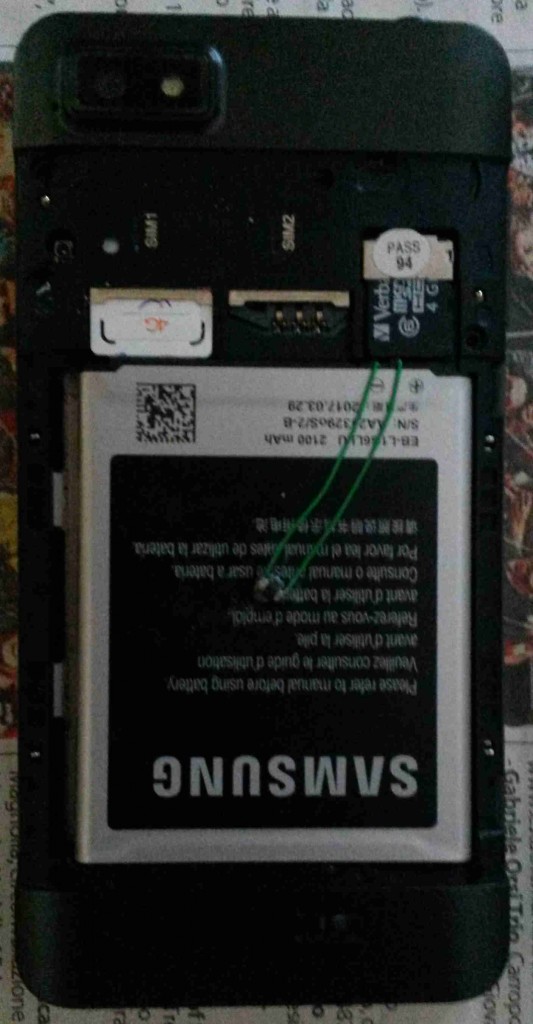
To fit Samsung battery in FP slot it’s mandatory to extend the slot cutting FP plastic shell, as shown below:
Fairphone battery pinout:
Pin 1: +Vbat
Pin 2: NTC temperature sensor
Pin 3: -Vbat
Samsung EB-L1G6LLU battery pinout:
Pin 1: +Vbat
Pin 2: BSI battery size indicator
Pin 3: -Vbat
Pin 4: ? (may be a battery enable input or NFC antenna)
Pin 1 and 3 of two batteries are quite aligned, Samsung battery pads’ pitch is a bit smaller, so slighty bend phone contact spring for pin 1 and 3:
Fairphone battery features a NTC temperature sensor resistor (thermistor), wired between pin 2 and 3 (-Vbat); in the same position Samsung has a fixed 2,39 kohm resistor, so directly connecting Samsung battery to FP prevents battery charging, as phone’s overtemperature control circuit read 2,39 kohm and assumes battery is overheating, also if battery is cool.
Temperature monitoring it is important in lithium batteries especially at the end of quick charge, if charger doesn’t stop on time battery can overheat and explode; Fairphone 1 doesn’t have quick charge, so thermistor it’s not directly involved in charge process, it seems to be a “security device” instead; its signal is needed to to shut down the phone in case the battery pack starts overheating.
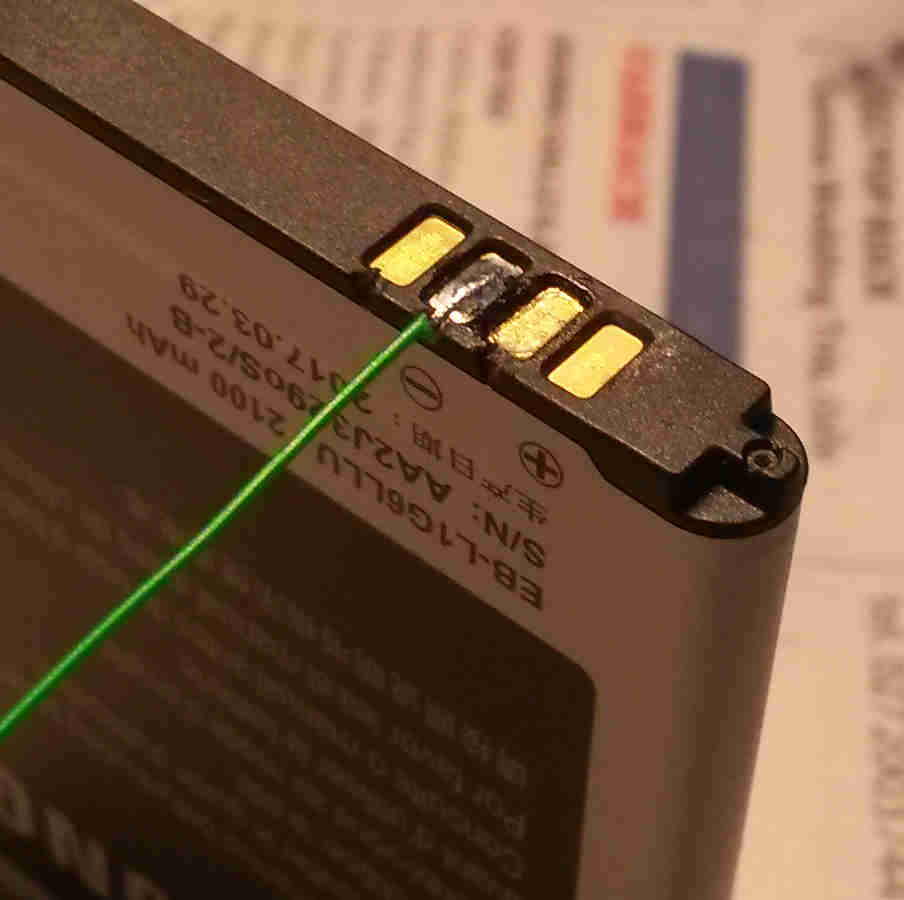
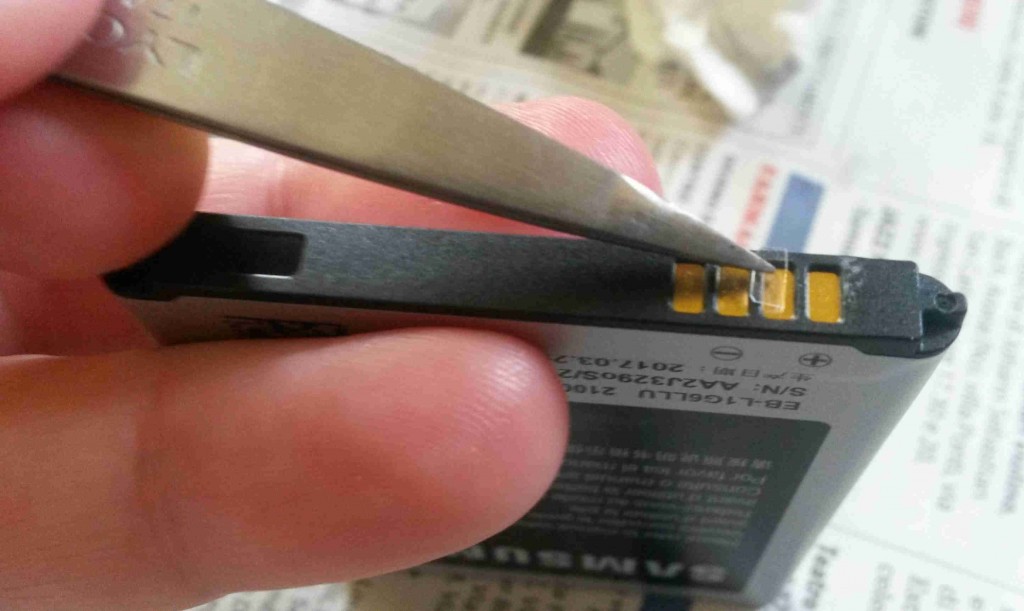
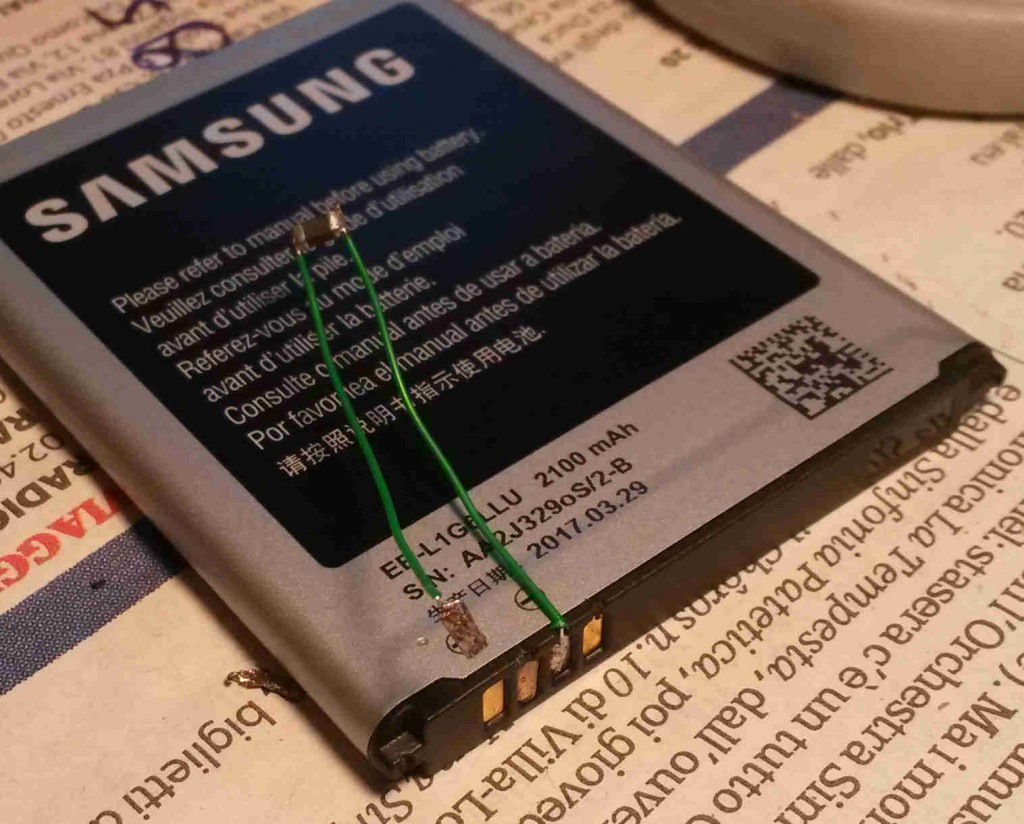
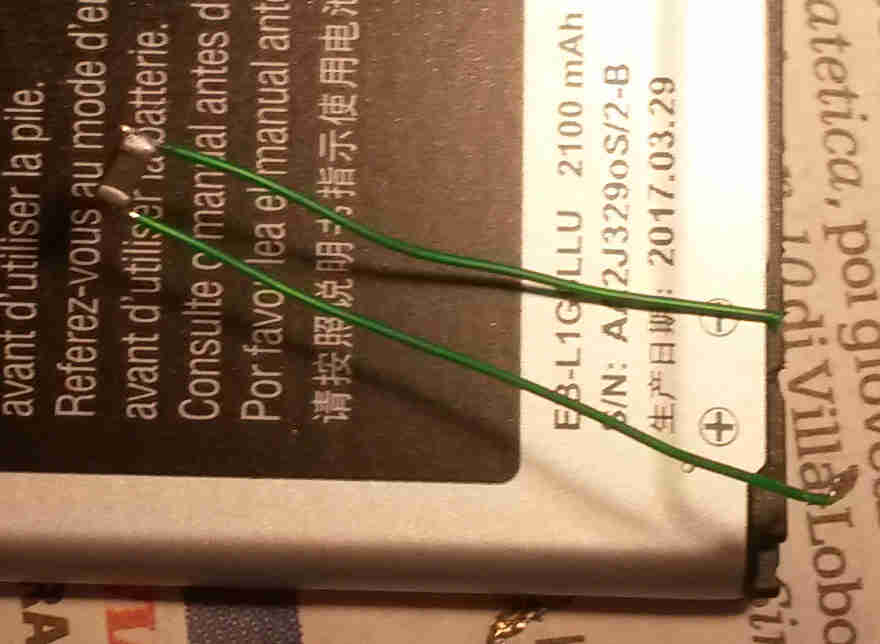
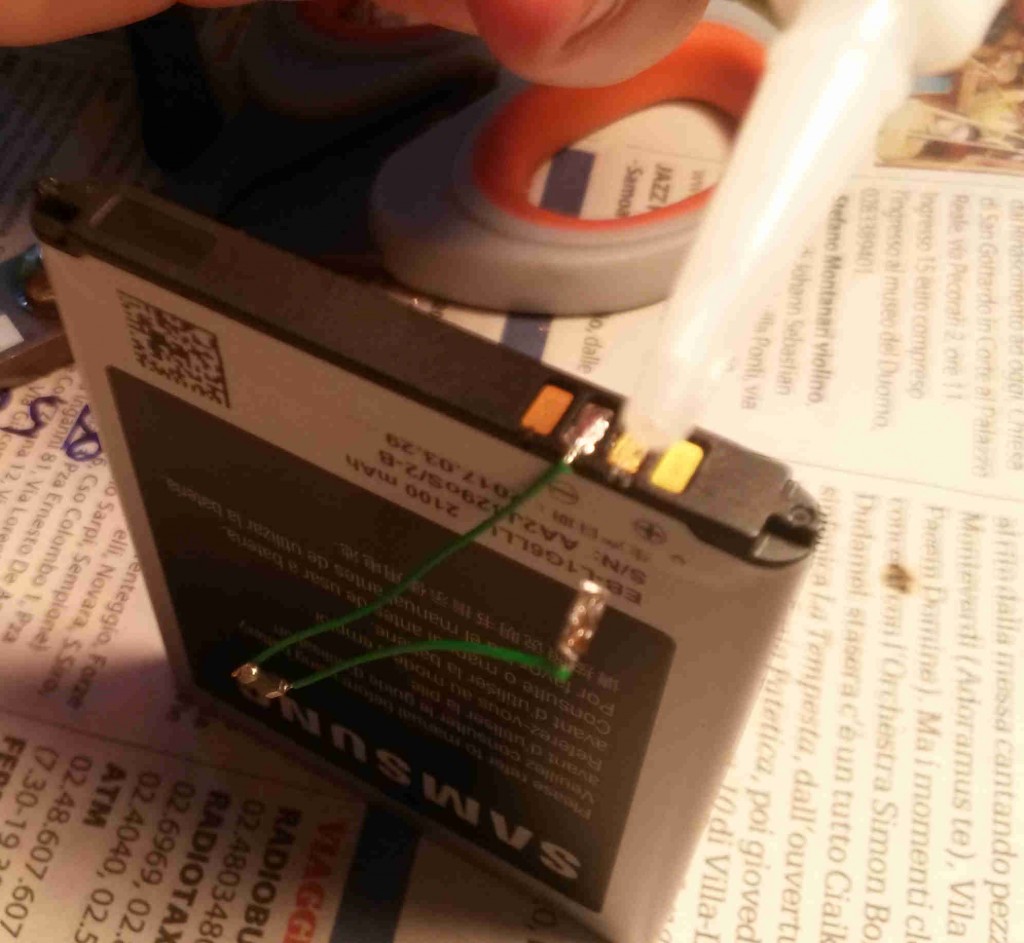
For this reason its necessary to insulate pad 2 of the new battery, put on it a new pad 2 and wire between pad 3 and the new pad 2 an NTC resistor.
I used an AVX NB20K00103JBA, temperature coefficient of resistance -4 %/°C; resistance @25°C = 10kΩ; SMD package size 1206 (if you want smaller components you can use AVX NB12K00103JBB, 0805 size or NB21K00103JBB, 0603 size).
Below you can find some details on NTC selection.
Pad 3 (-VBat) NTC connection:
Insulating original Pad 2 (plastic film + cyanoacrylic glue):
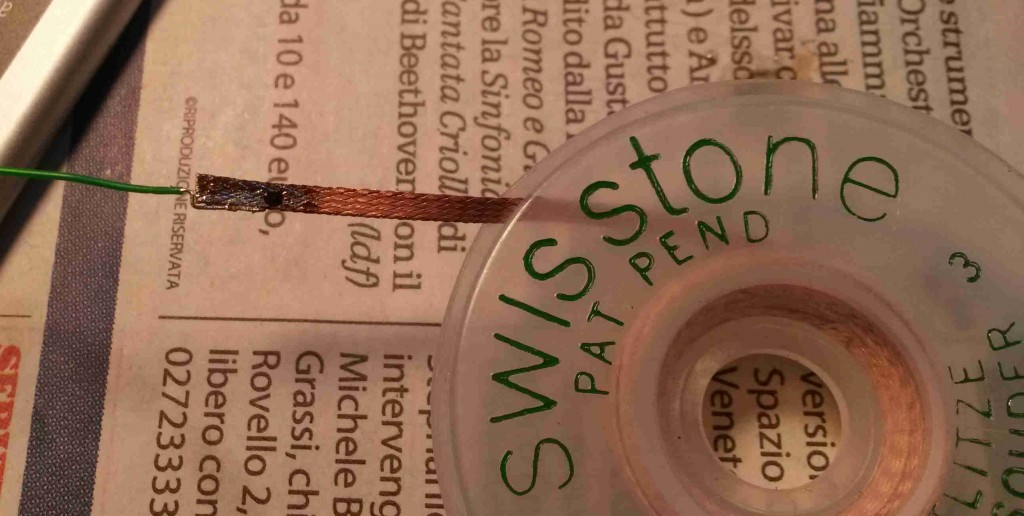
Preparing the new Pad 2 with NTC wiring (tinned copper strip+wire wrap) :
Fixing new Pad 2 (cyanoacrylic glue):
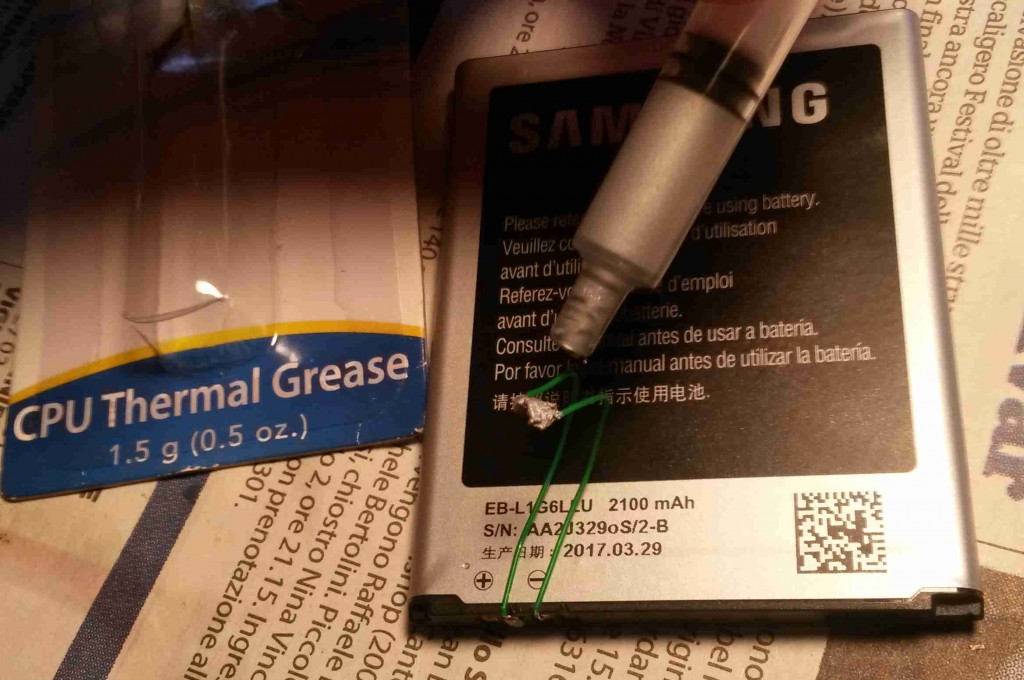
Putting thermal grease between NTC sensor and battery:
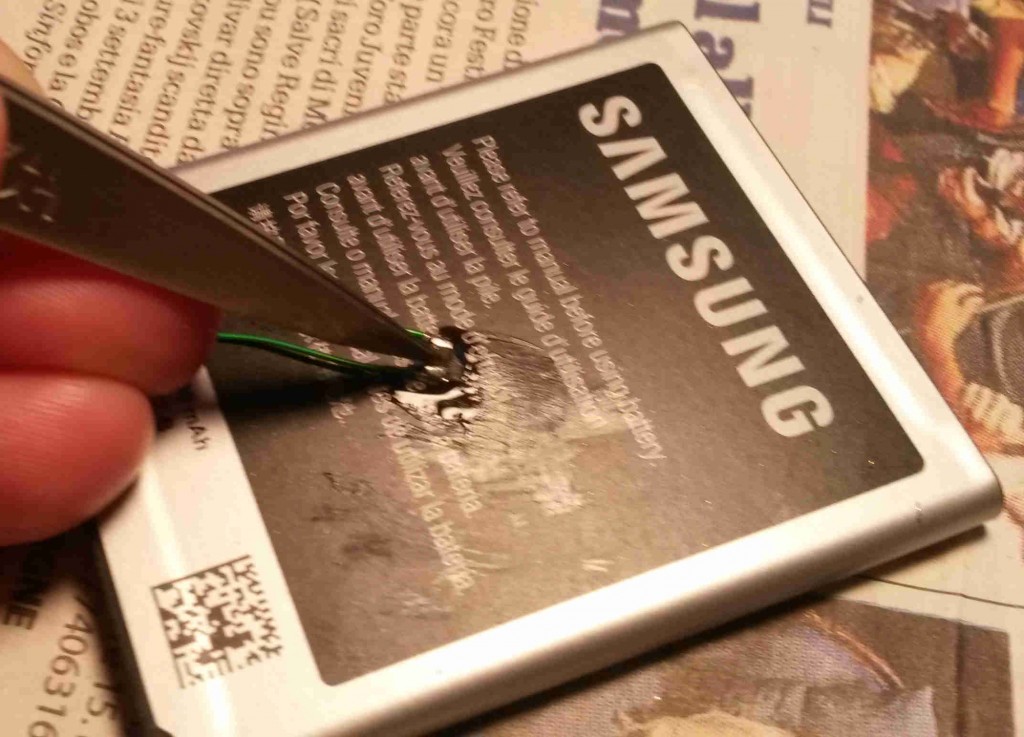
Fixing NTC sensor on battery side (cyanoacrylic glue):
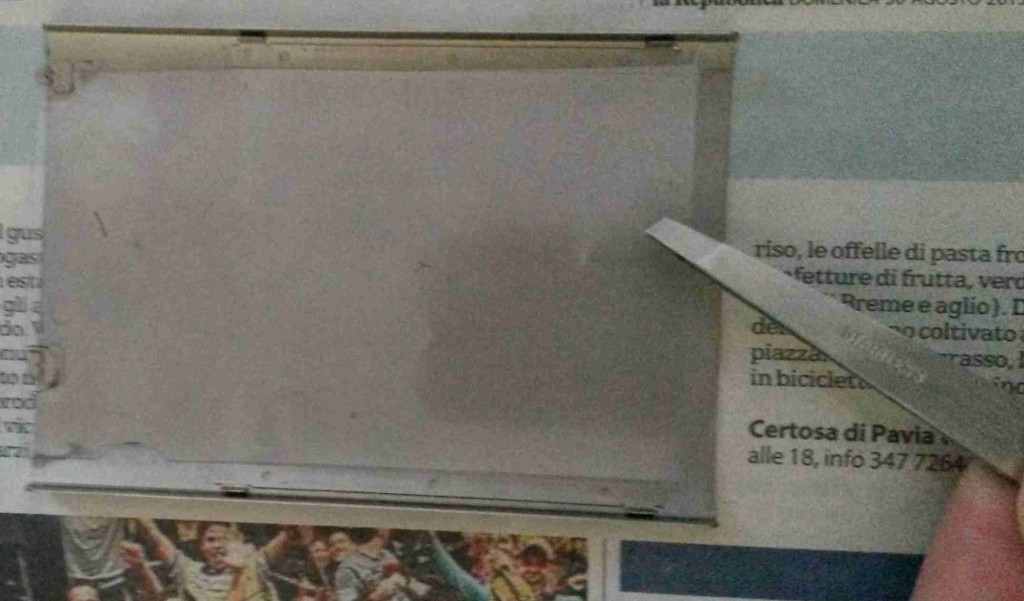
To prevent short circuit at NTC sensor connections I put a plastic film on inner side of metallic rear phone cover, fixing it with cyanoacrylic glue:
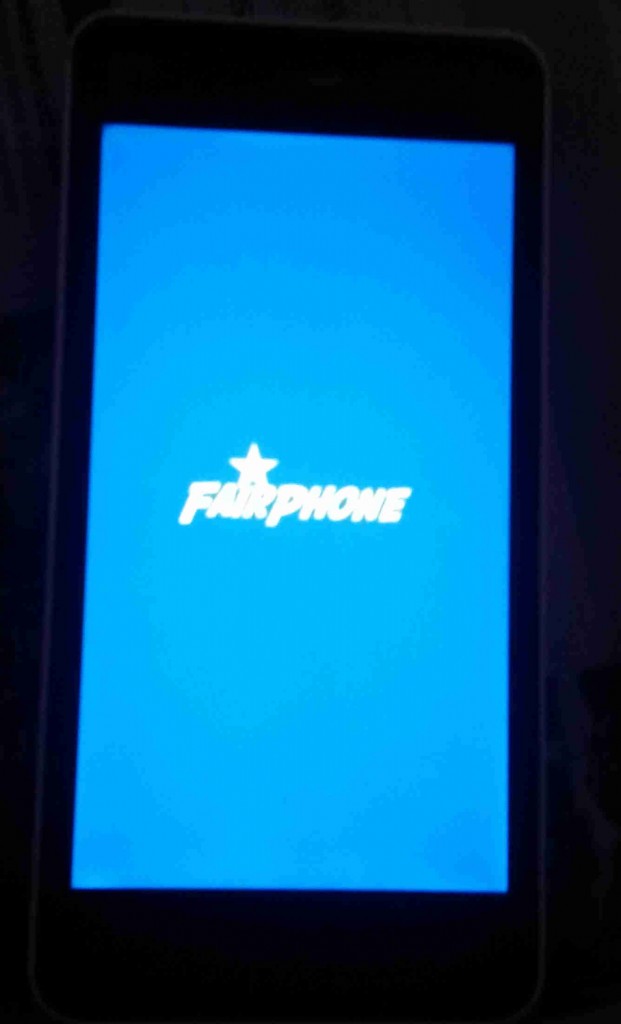
Fairphone boot after new battery charge:
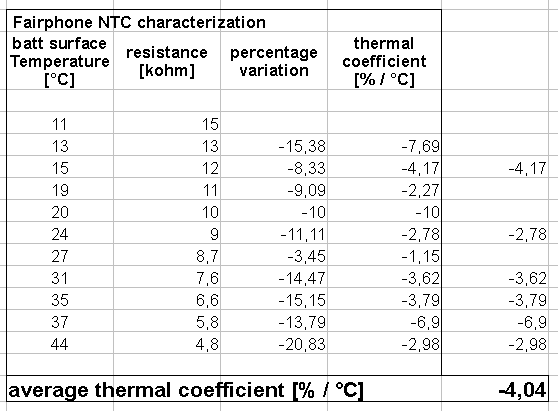
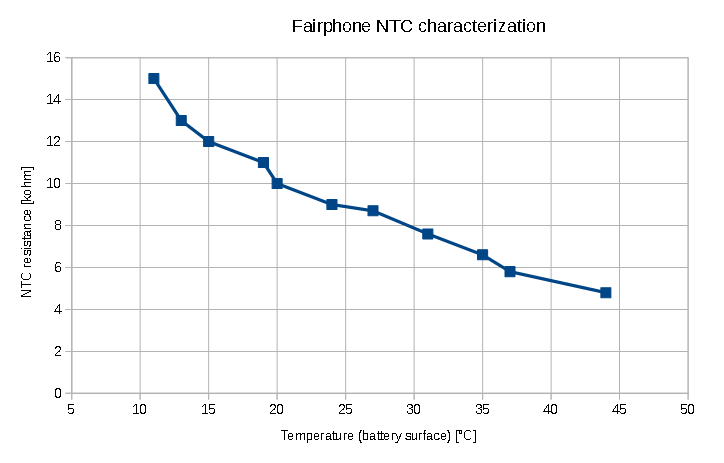
To choose NTC thermistor I measured original battery NTC resistance at different temperatures, to characterize it; then I get a sensor that should work as close as possible to original one.
December 3rd, 2017 at 12:38 am
[...] En creusant un peu, j’ai découvert que l’esprit du DIY (do it yourself) soufflait sur l’Europe et que d’autres individus et petites entreprises s’étaient emparés du sujet. Avec toutes sortes de propositions, parfois farfelues, comme celle de Siribillo pour ajouter un senseur de température sur une batterie Samsung pour pouvoir insérer cette smart batter…. [...]